How to Use a Lensball for Creative Nature Photography
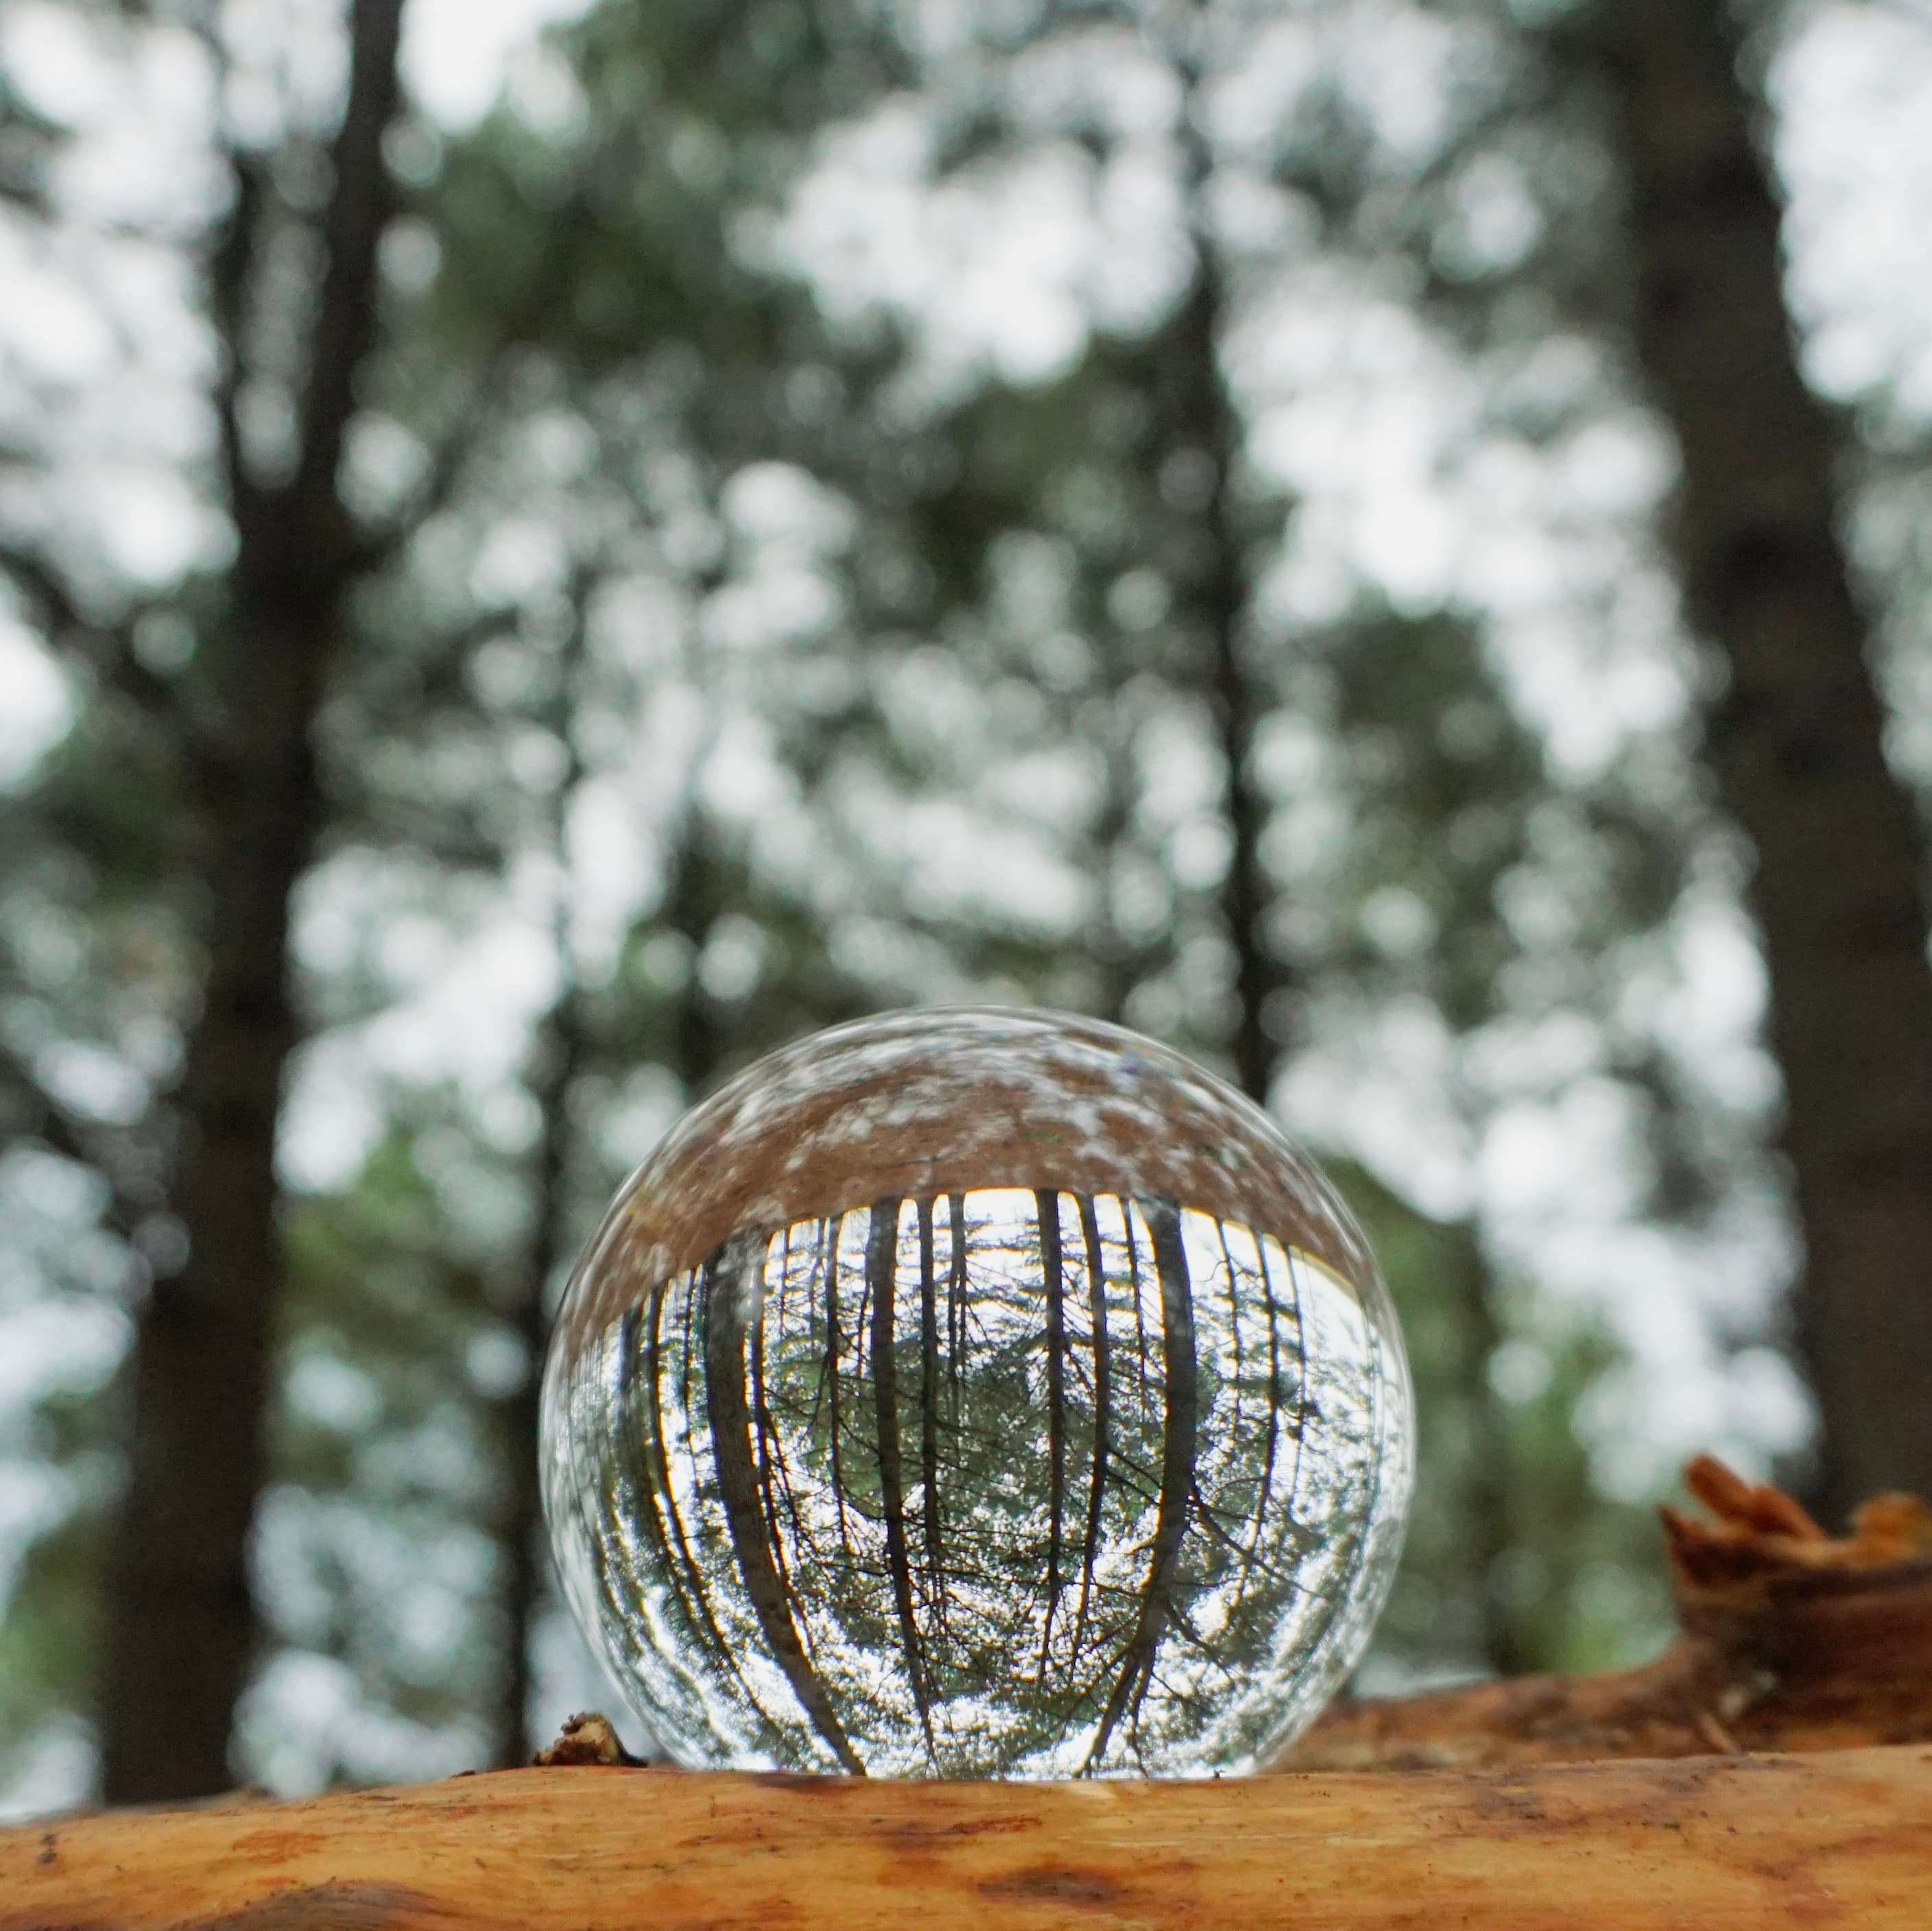
I was recently gifted a lensball -- a solid glass sphere that acts as a natural lens, bending and inverting the world around it. If you've seen crystal ball photography on Instagram, this is the tool behind most of those shots. The concept is simple: place the ball in front of your camera, focus through it, and the sphere inverts and compresses the scene inside a perfect circle.
What Is Lensball Photography?
Lensball photography -- sometimes called crystal ball photography -- is a creative technique where a solid glass sphere is used to refract and invert a scene. The ball functions like a fisheye lens compressed into a small circle. Subjects like trees, architecture, and landscapes bend inward, creating a miniaturized world inside the sphere. You shoot through or around the ball with your camera, typically at close range with a longer focal length to isolate the ball against a blurred background.
The technique works because the glass sphere bends light from all angles simultaneously -- the same physics that make a water droplet reflect a whole scene. The result is a 180-degree field of view compressed into the diameter of the ball, always flipped upside-down.
My First Lensball Photography Attempt
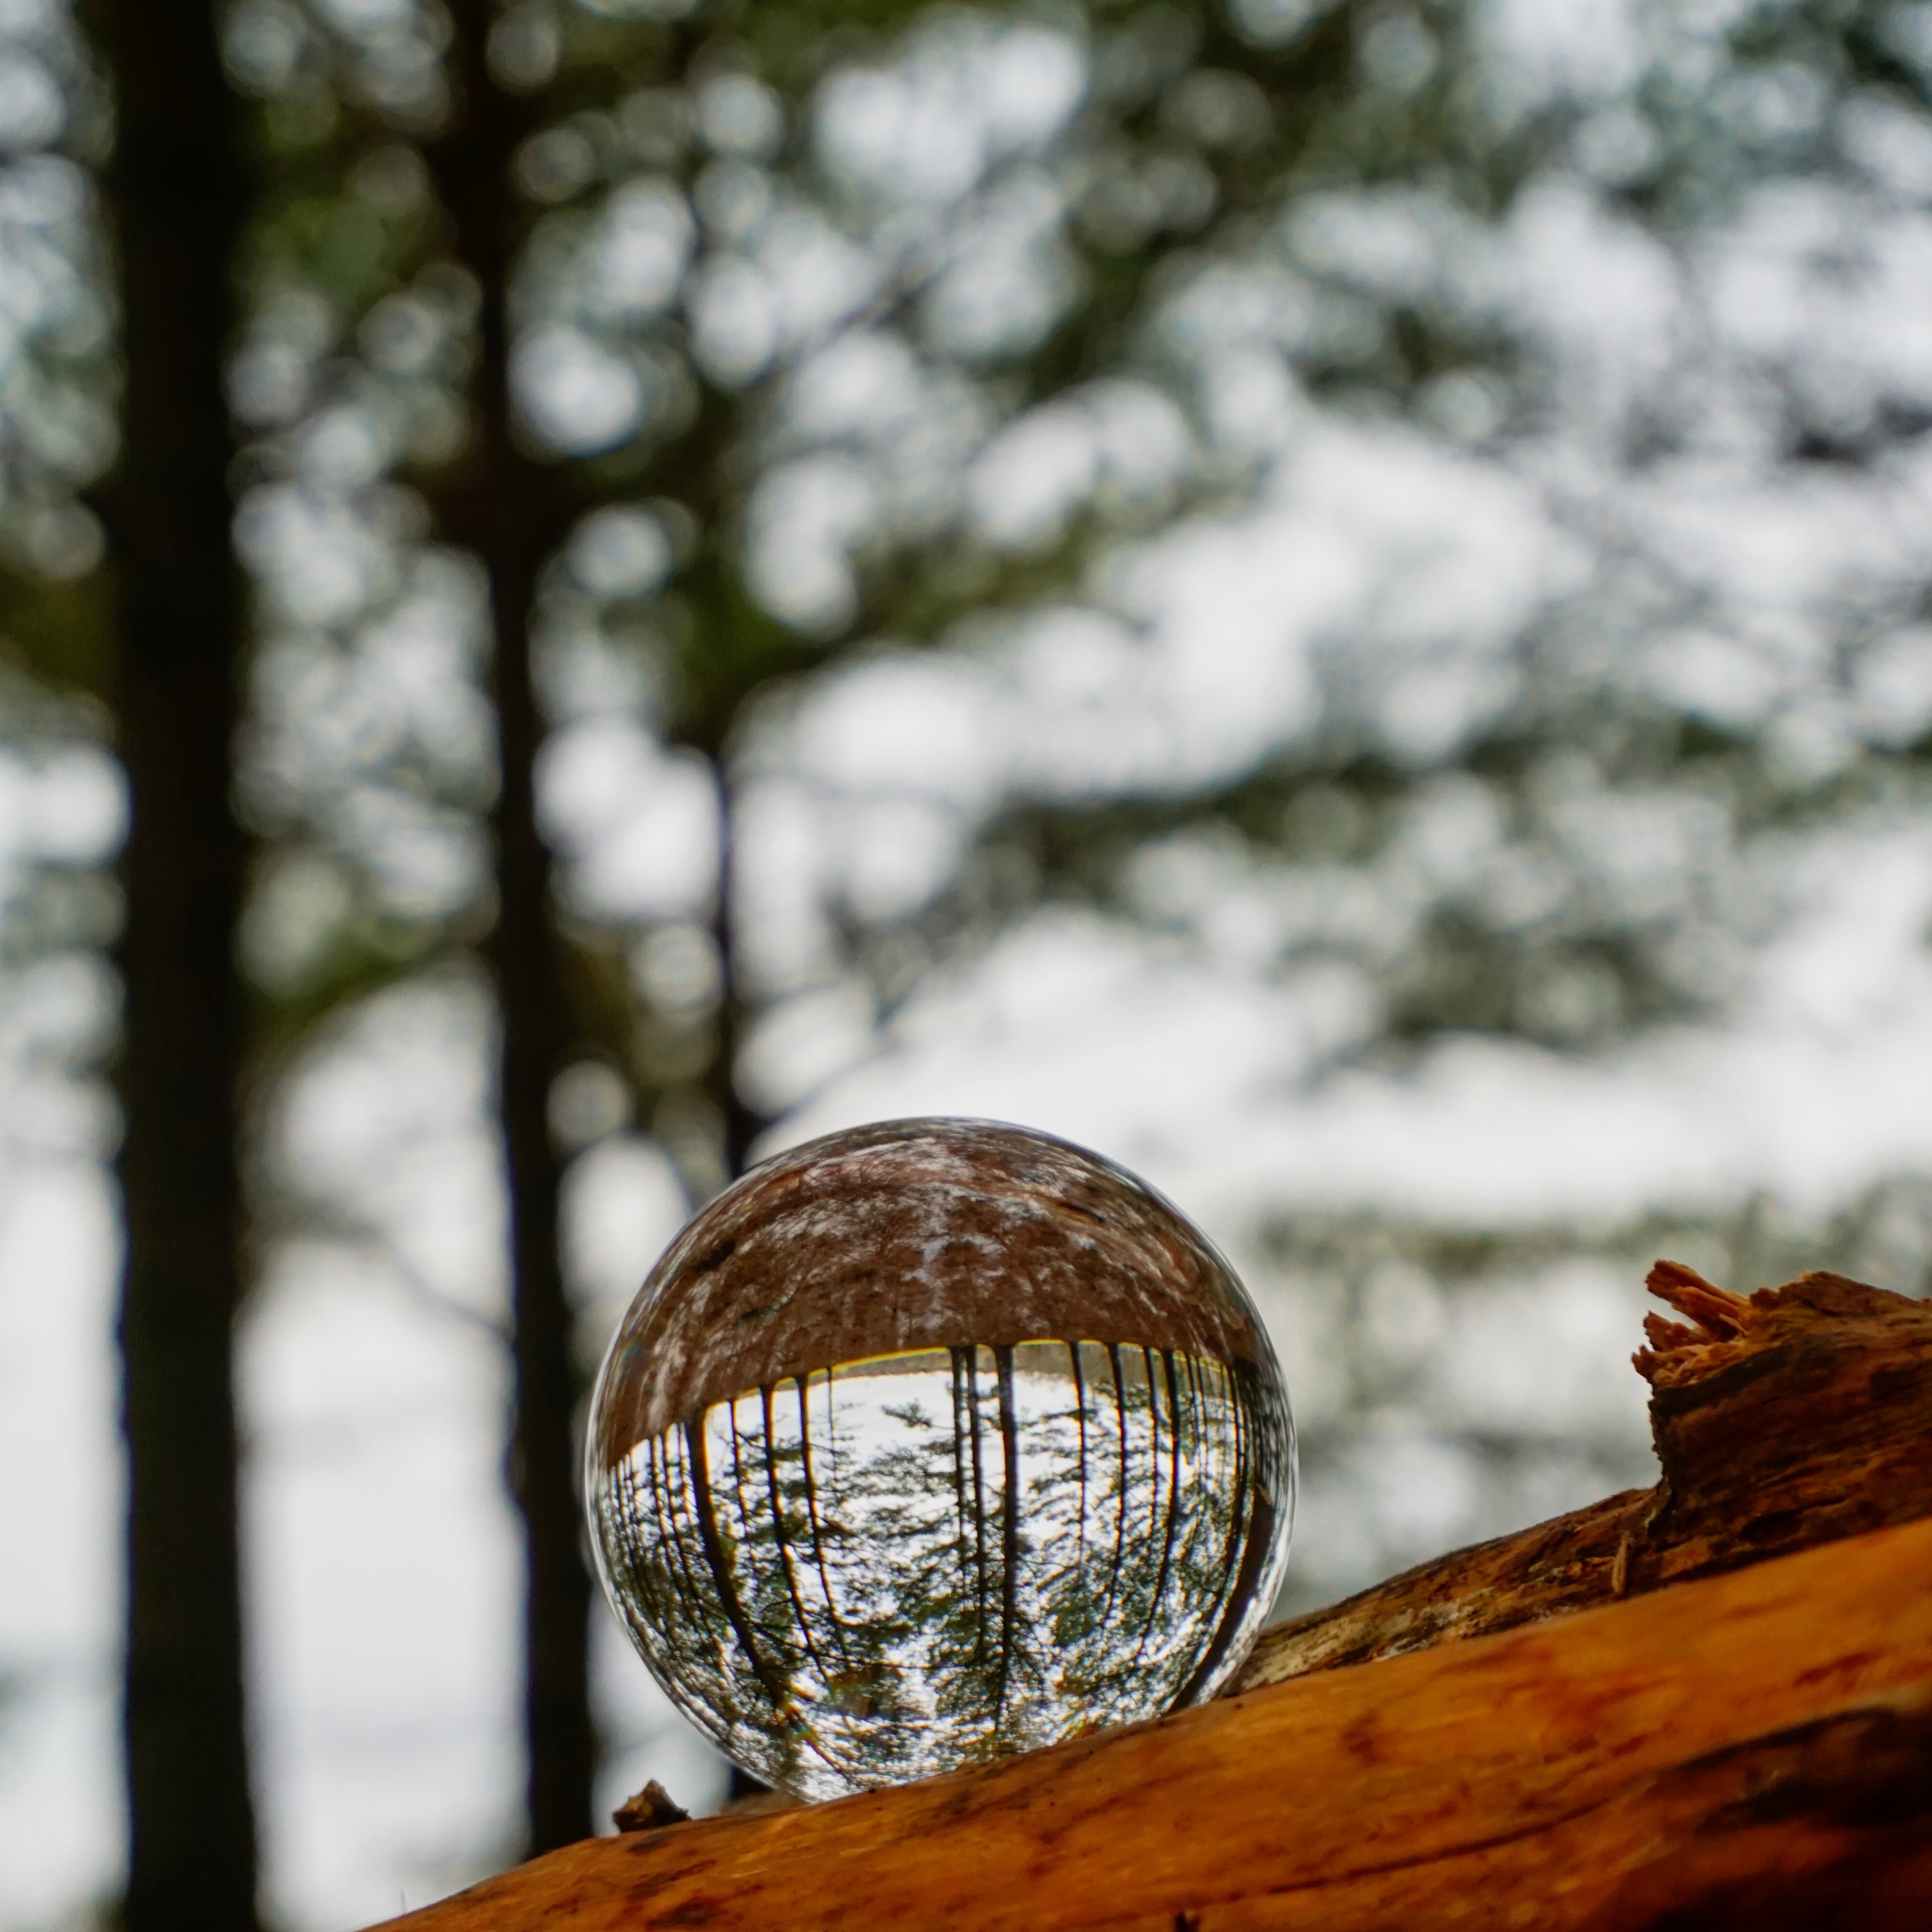
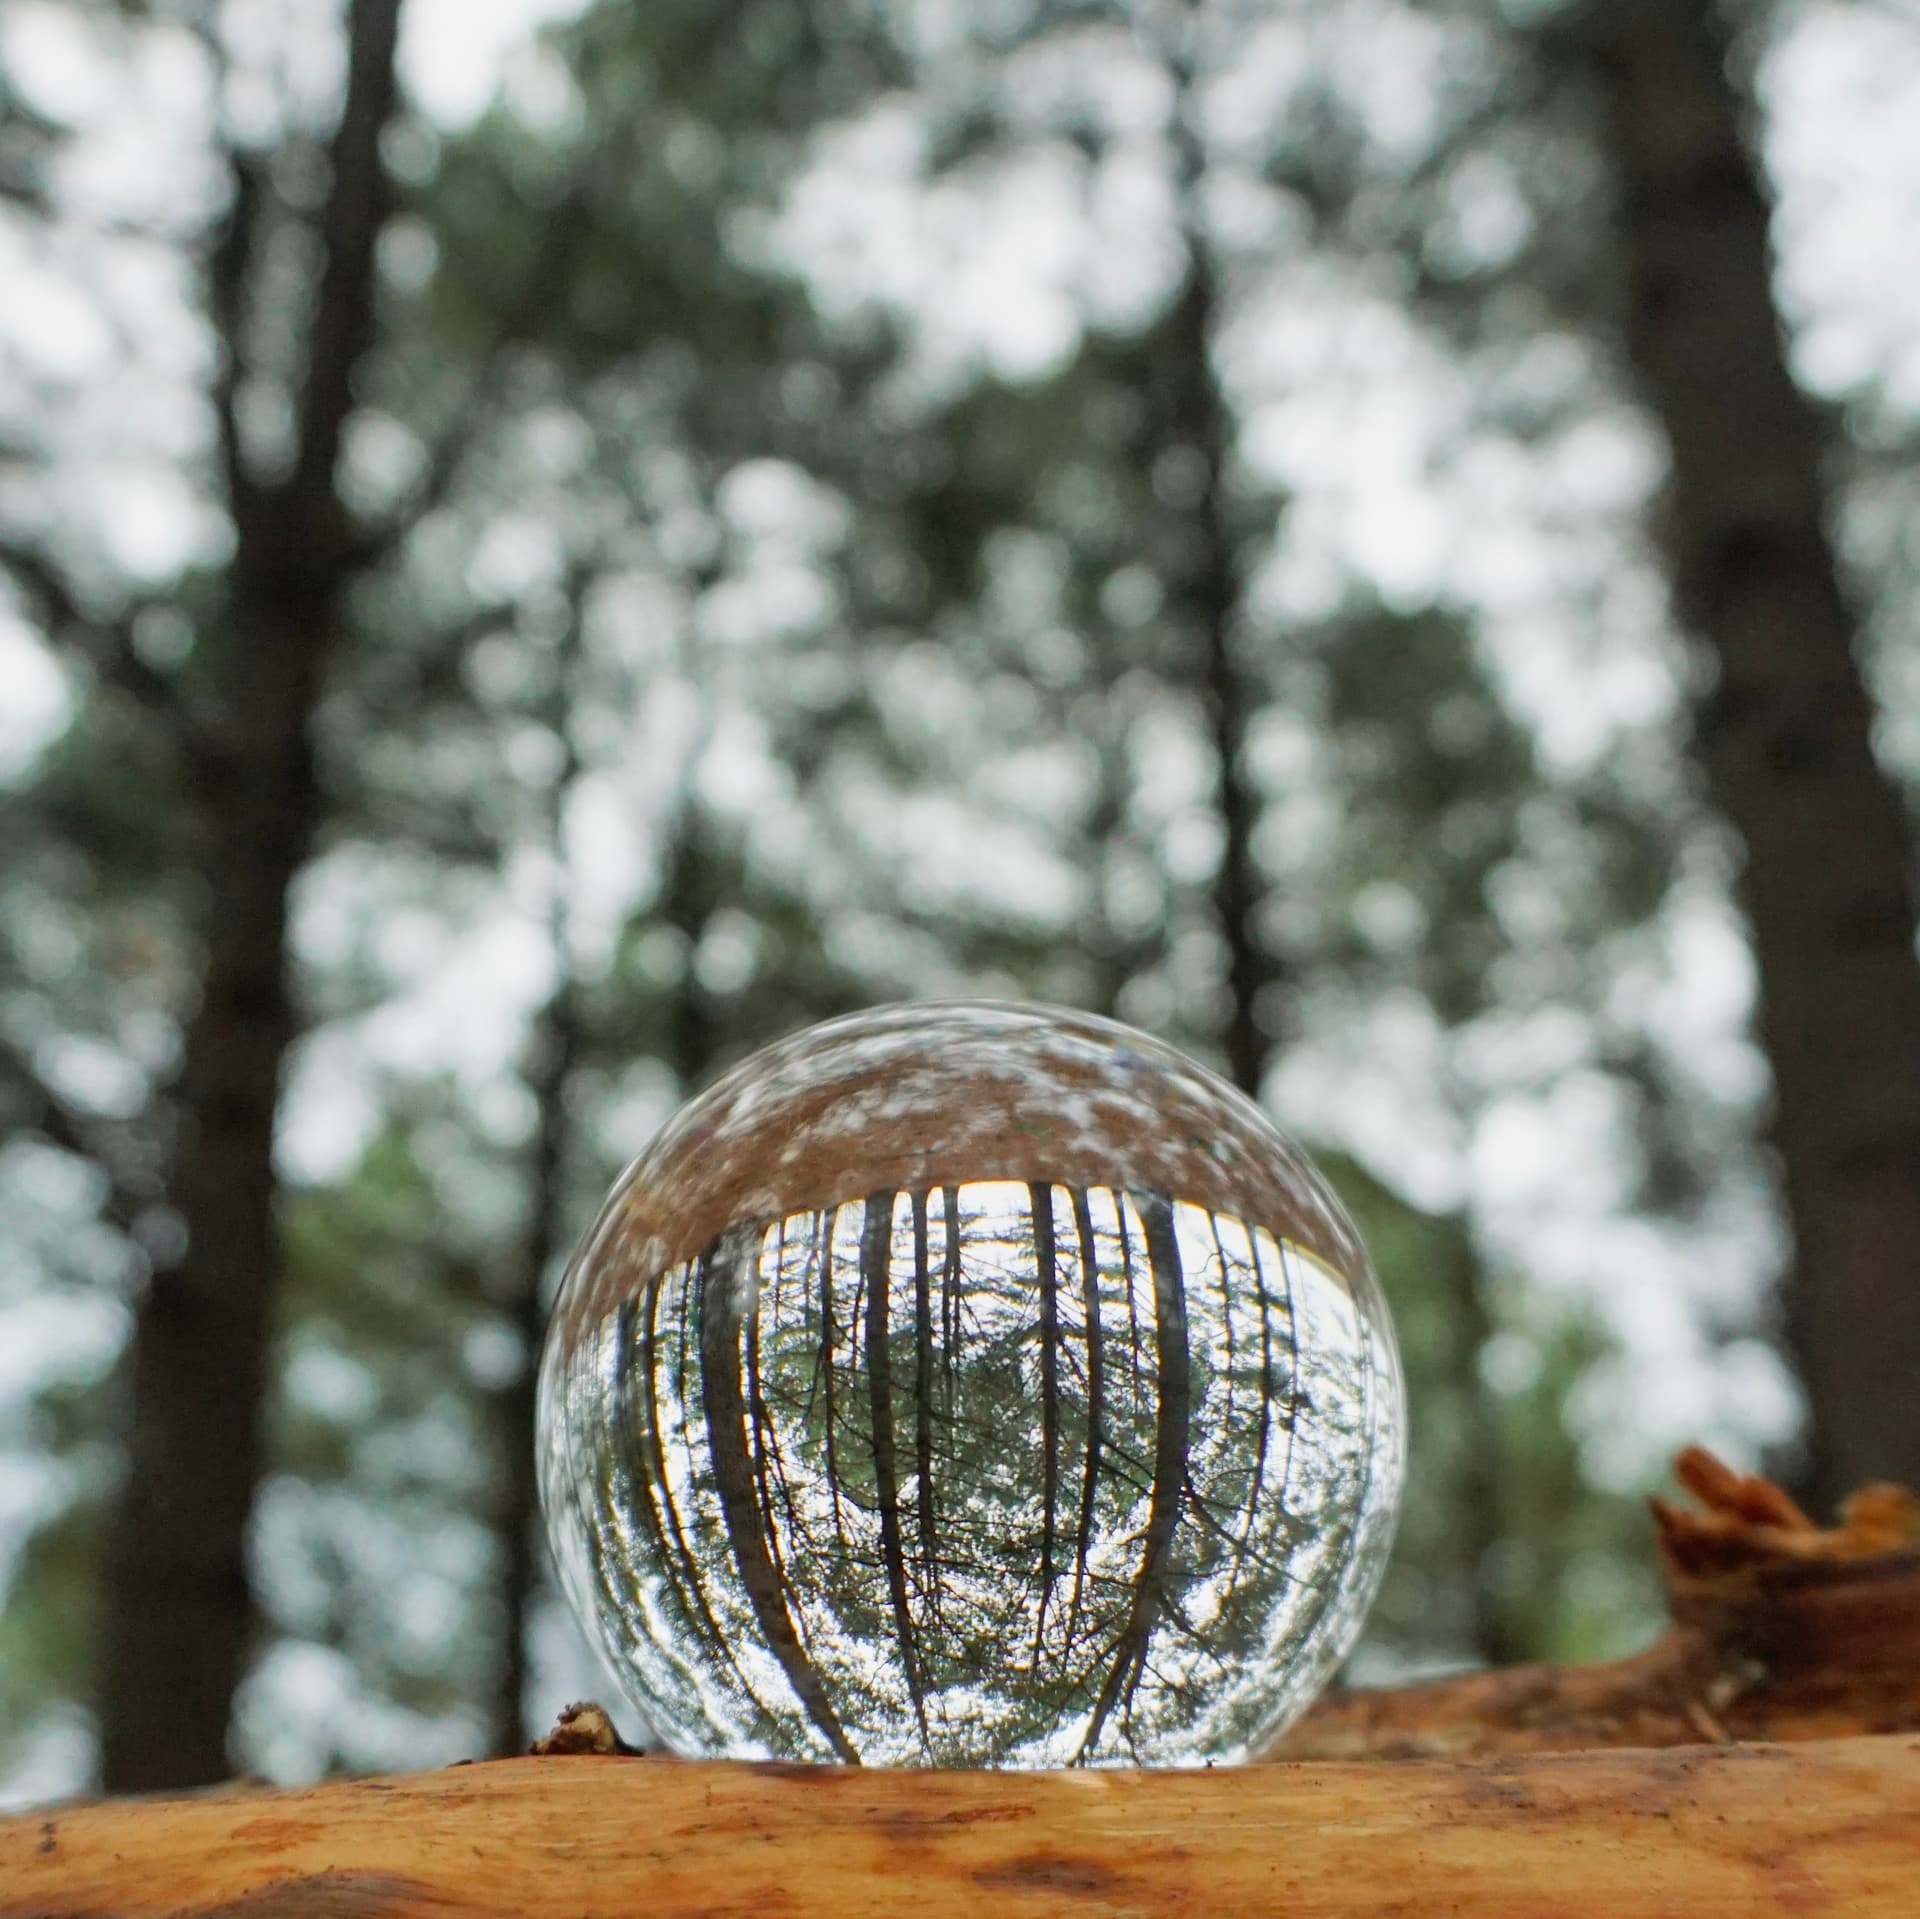
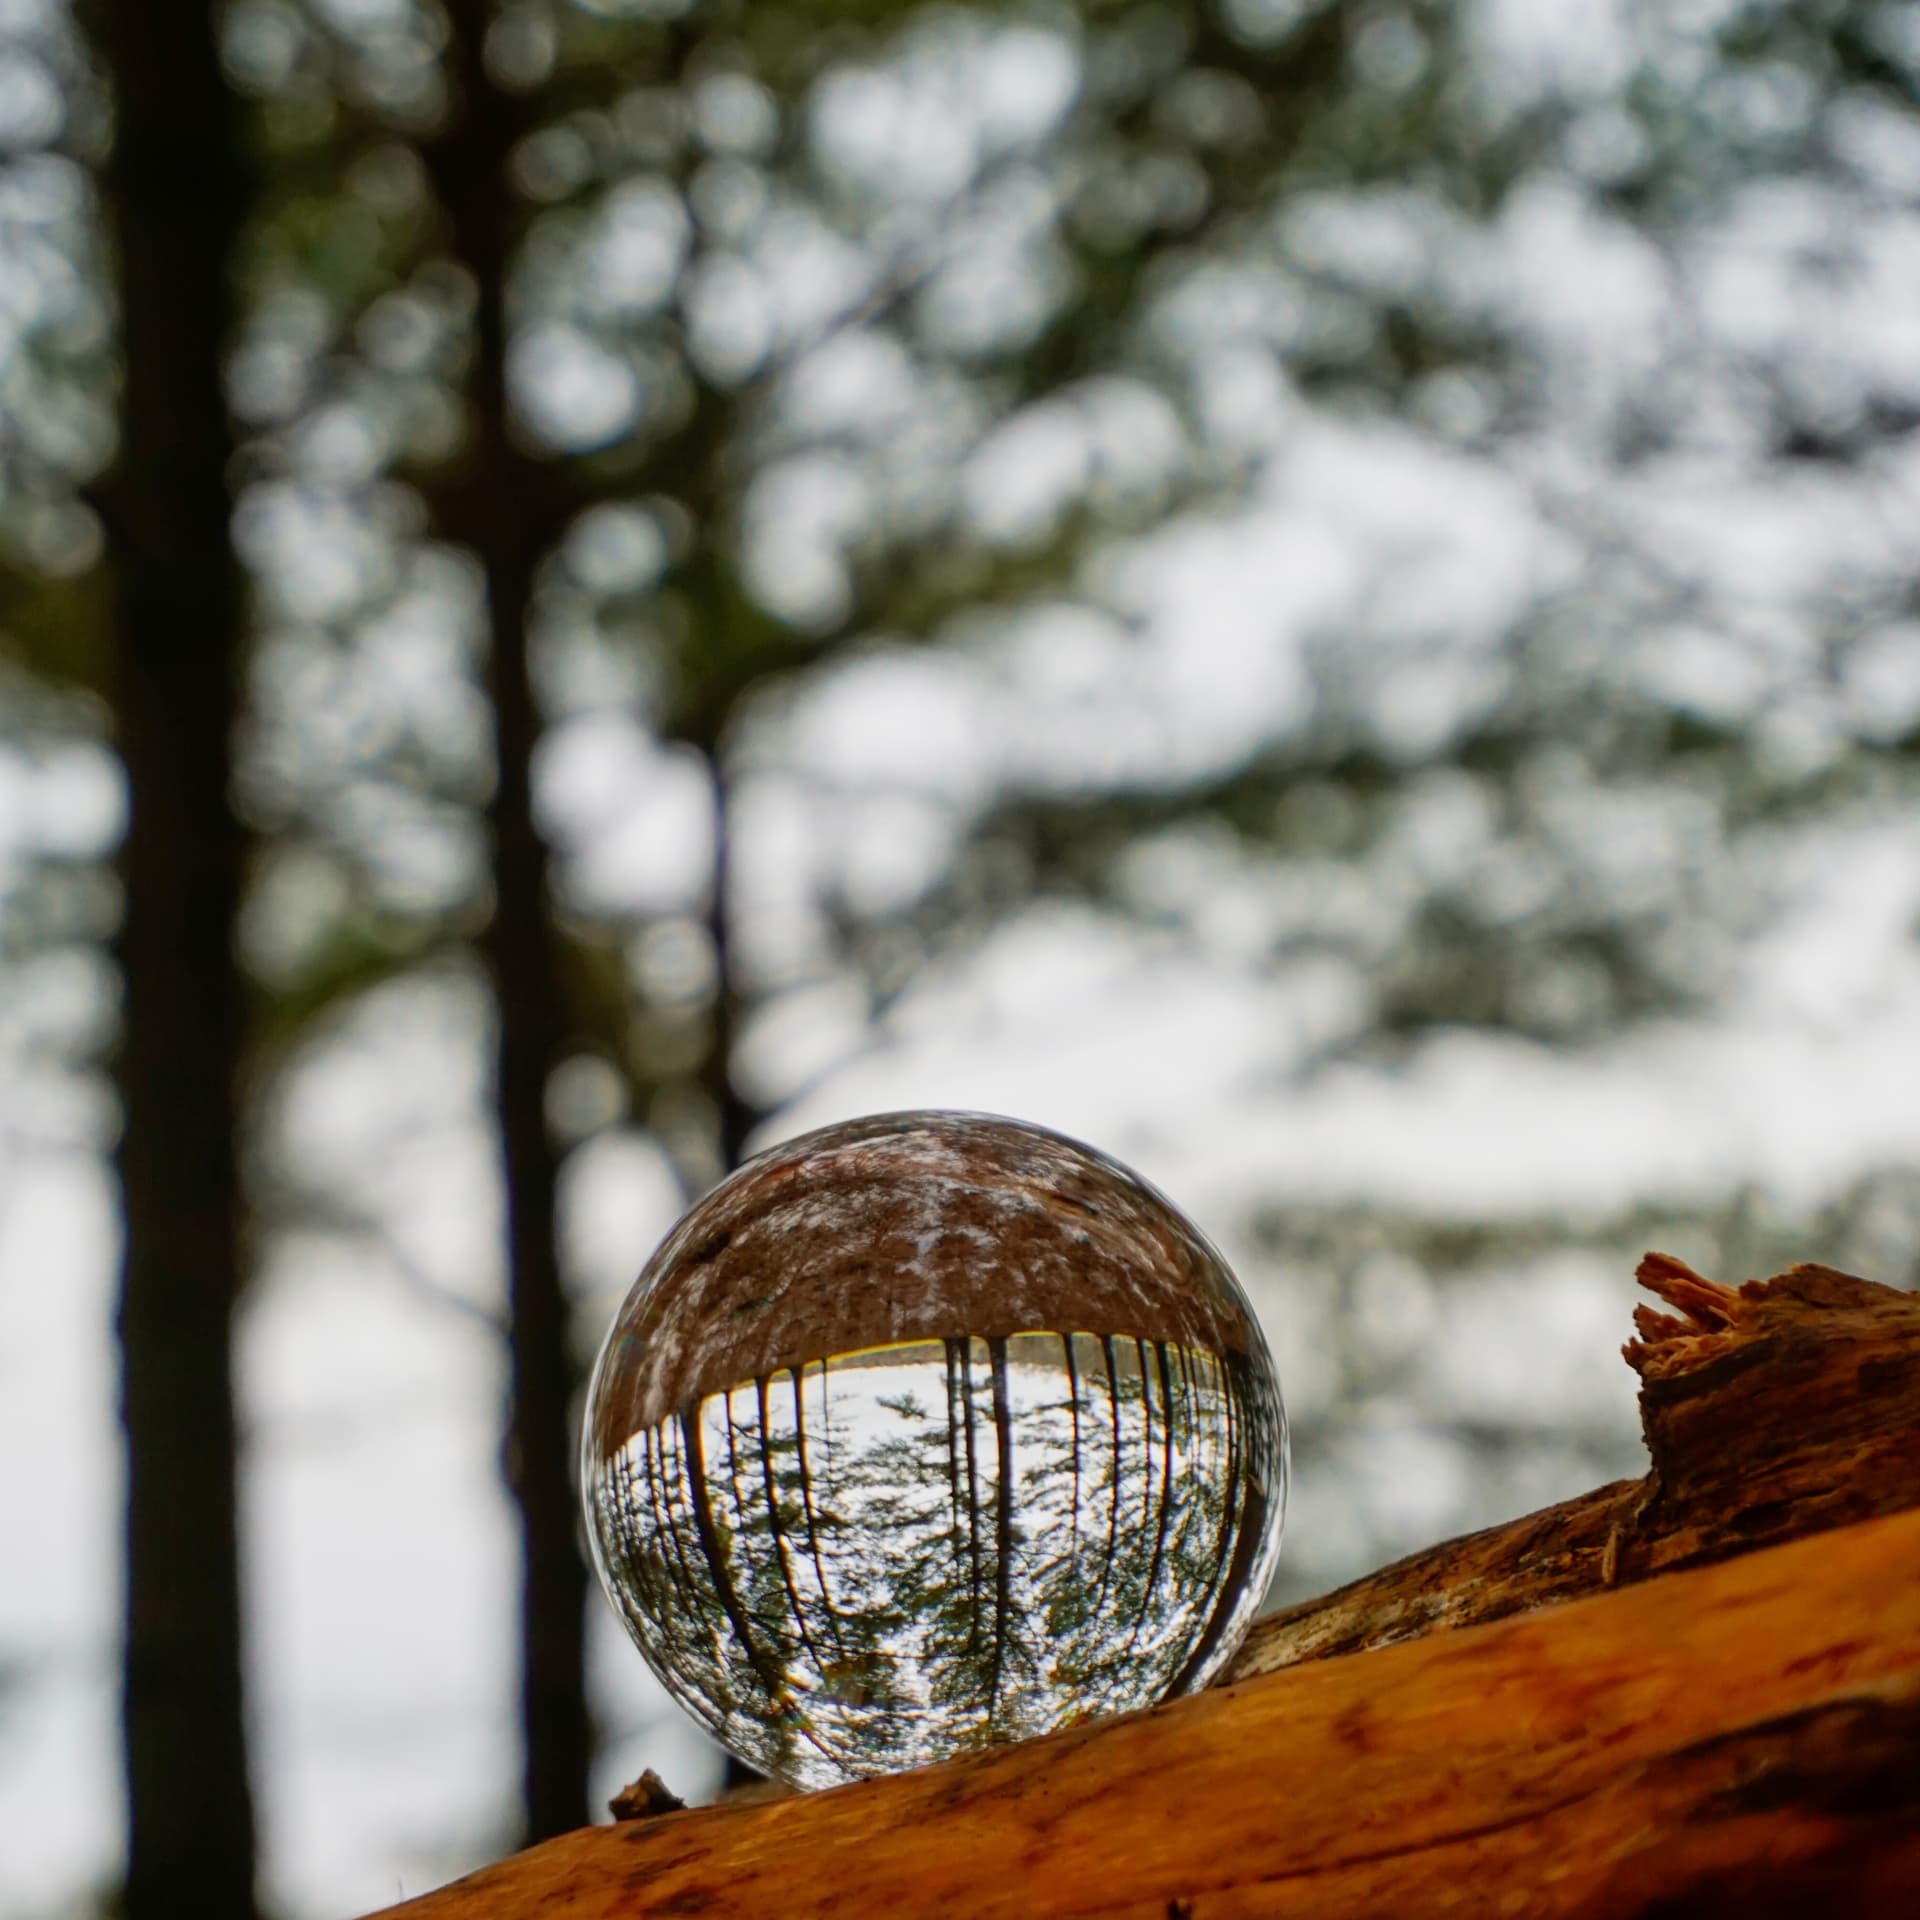
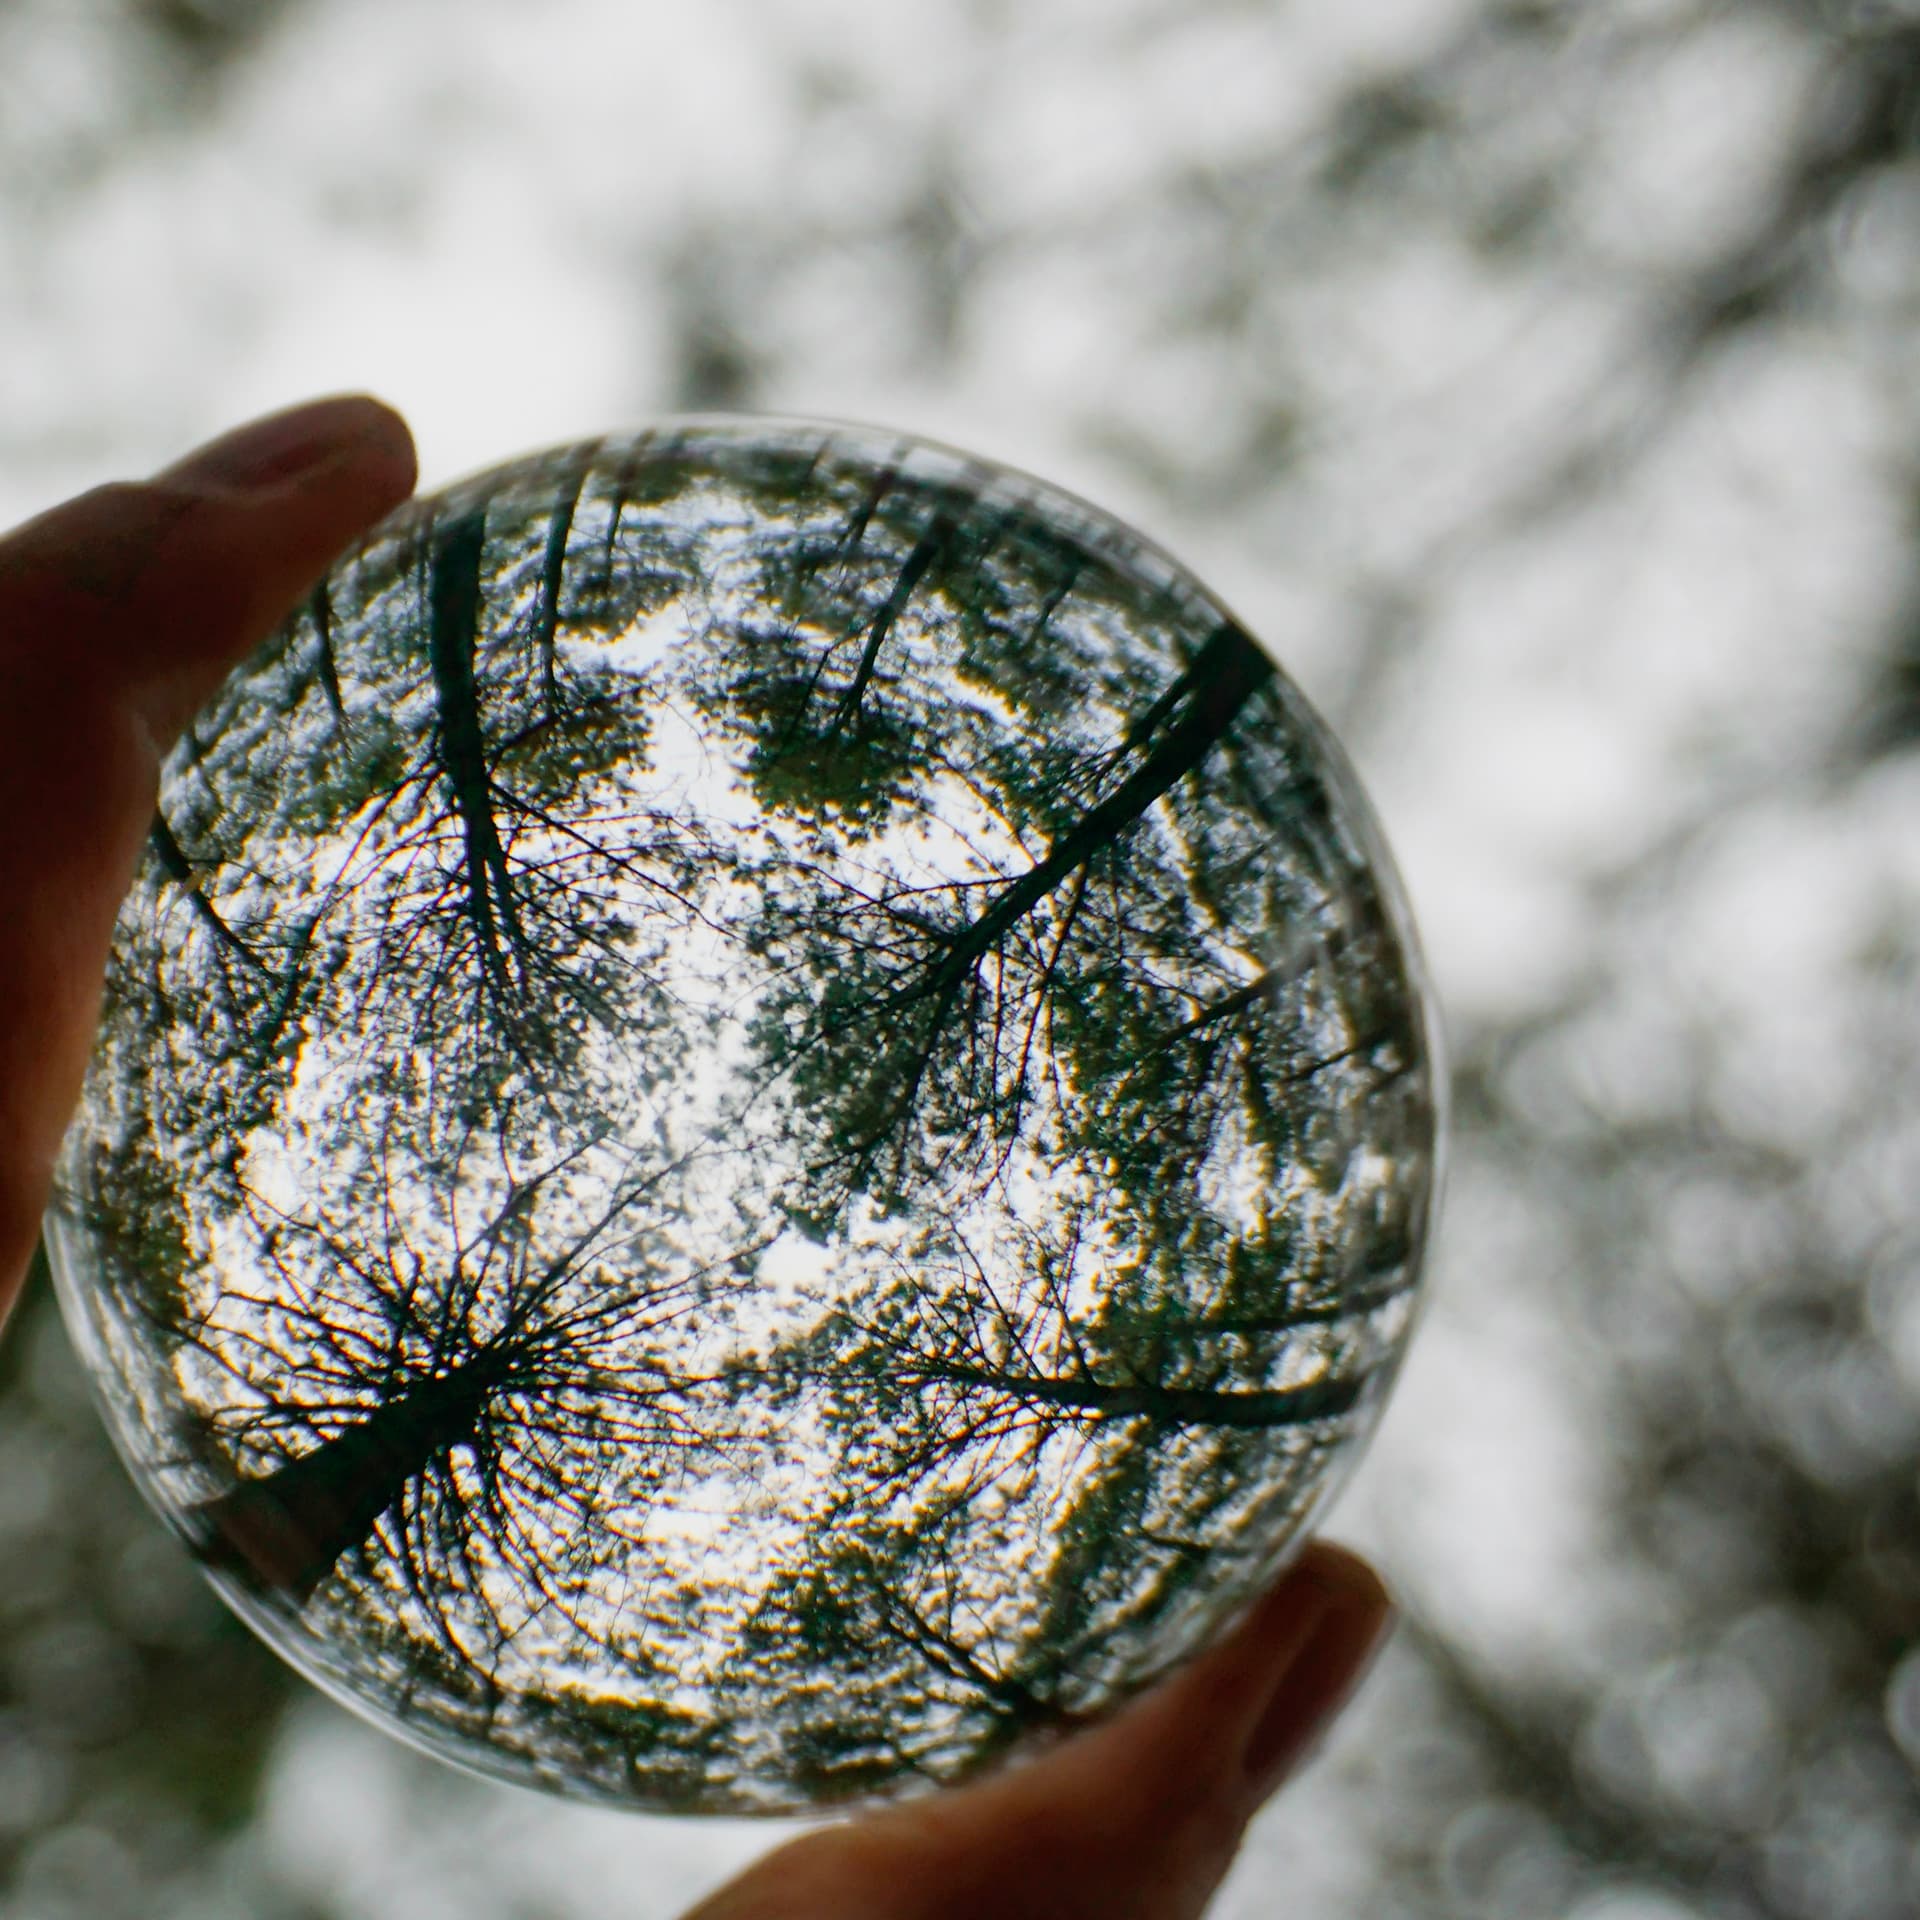
I took the lensball out to a pine forest and placed it on a fallen log. The warm wood gave the ball a natural resting point and kept the forest floor from dominating the frame. The vertical pine trees created strong lines inside the sphere -- which, inverted, read as a clean pattern radiating from the bottom edge.
Getting the ball sharp while keeping a blurred background required more experimentation than I expected. Too close and the background compressed into a smear. Too far and the sphere lost its presence against the scene. The sweet spot -- at least with the lens I had -- was around two to three feet from the ball at a moderate aperture like f/5.6 or f/8.
Photo Notes
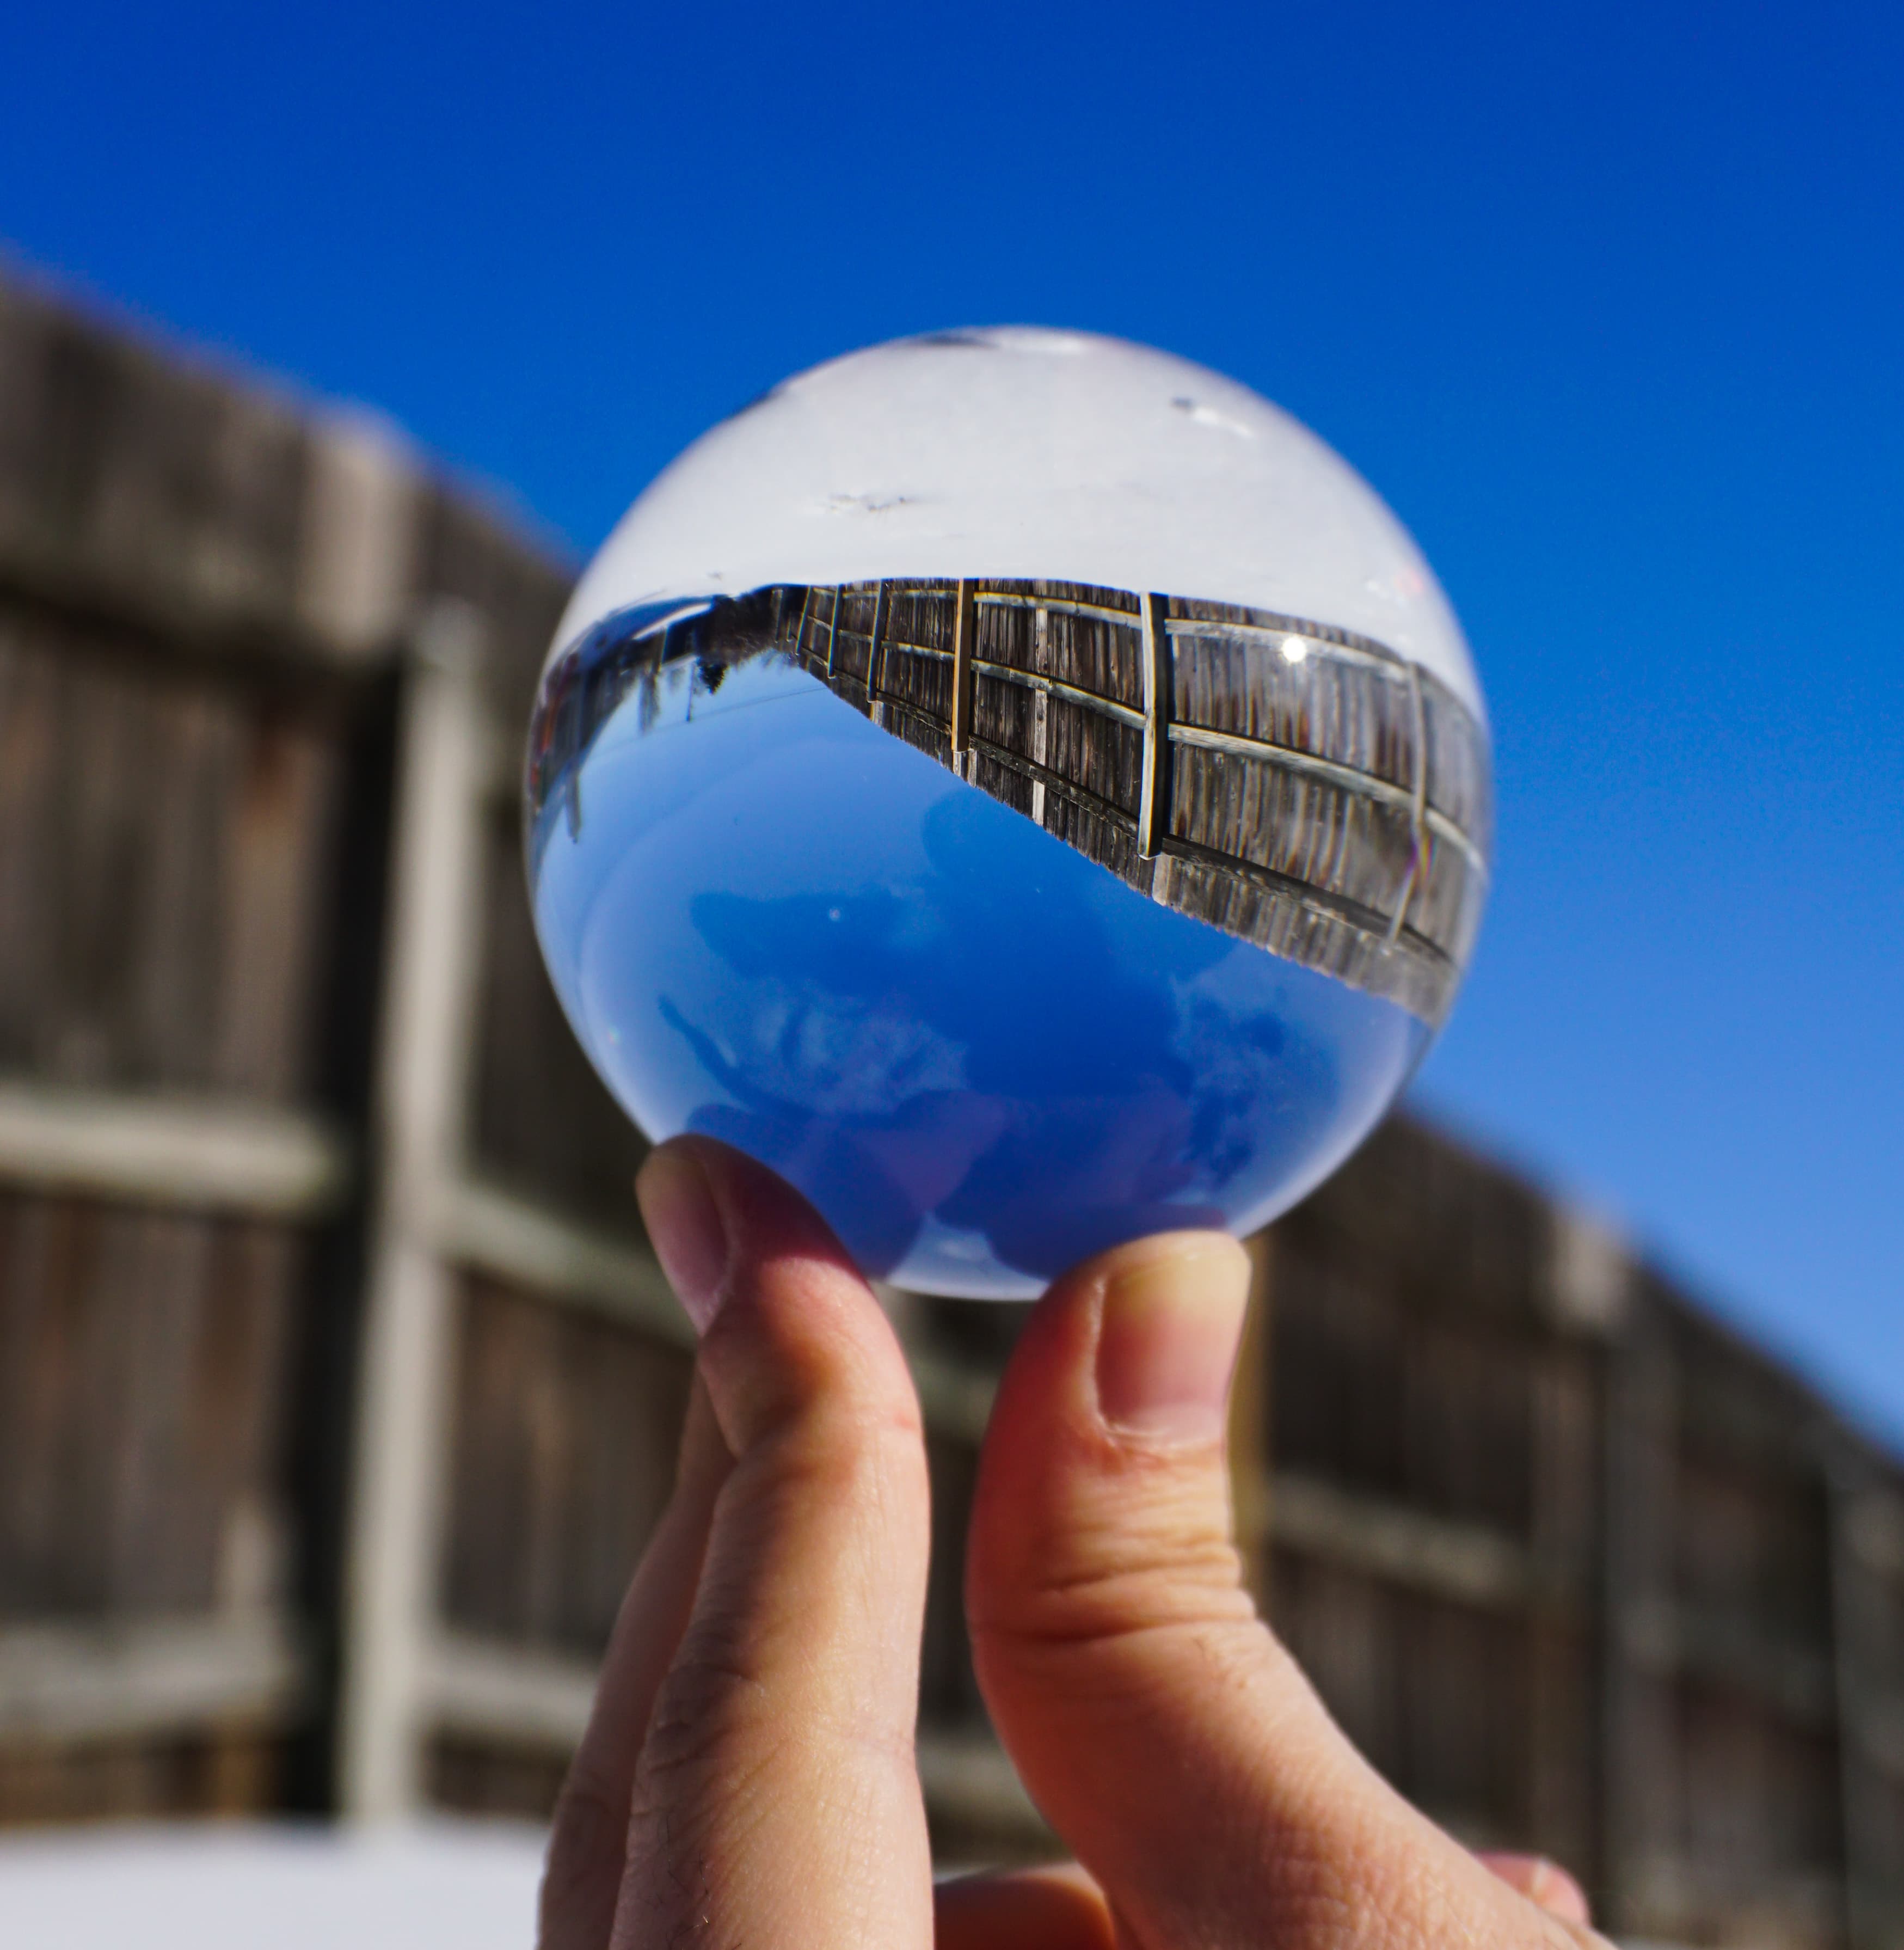
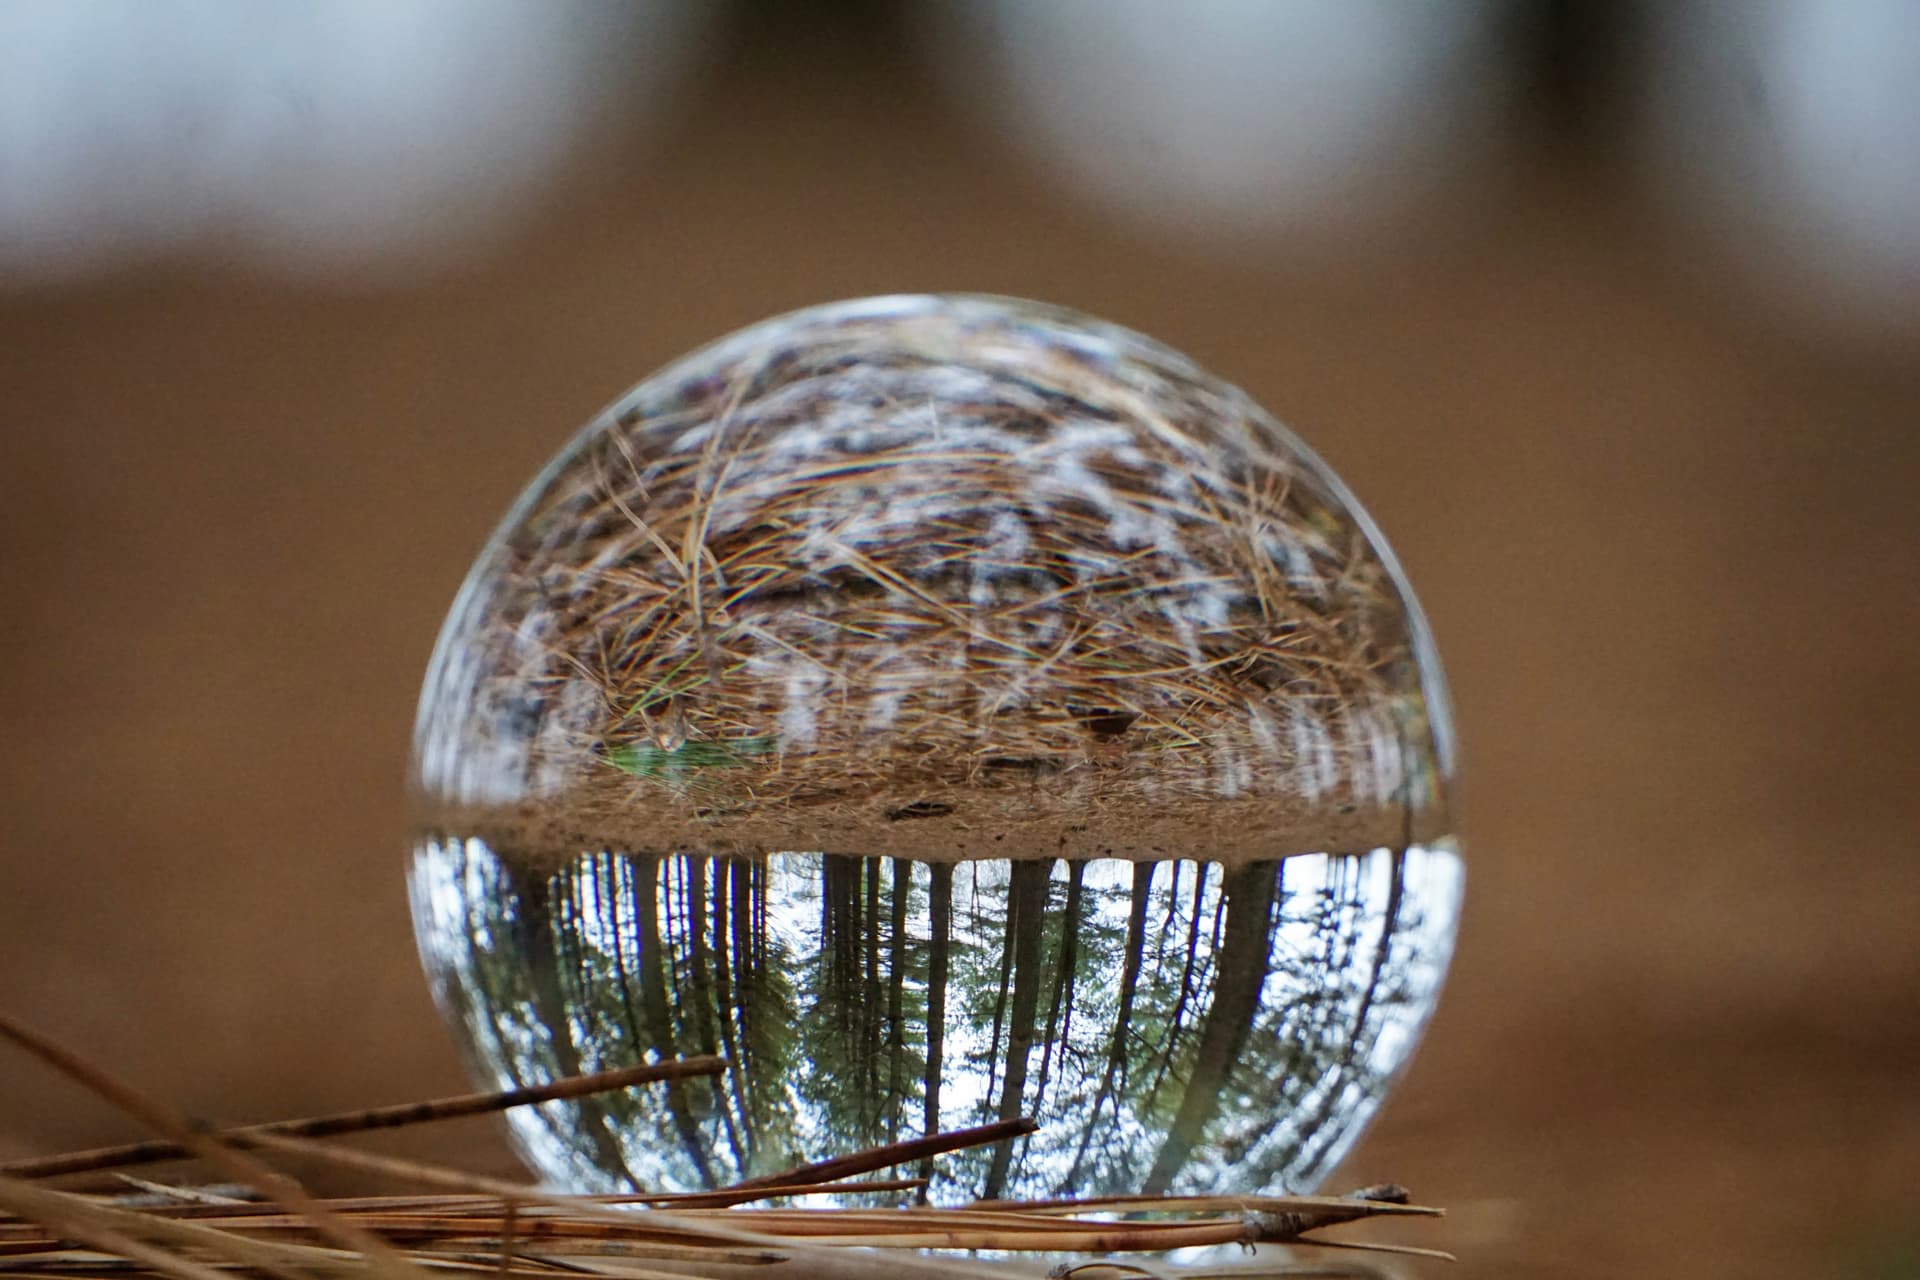
These photos are from my own early lensball experiments. I kept them in the article because they show the real learning process: finding a clean background, keeping fingerprints and fingers out of the frame, watching how much ground appears inside the ball, and learning how dramatically the composition changes with small shifts in camera height. The fallen log images worked best because the warm wood gave the lensball a natural base and the vertical pine trees created strong lines inside the sphere. The handheld images were useful too, but they made it much harder to avoid fingers, glare, and distracting reflections.
Common Lensball Photography Mistakes
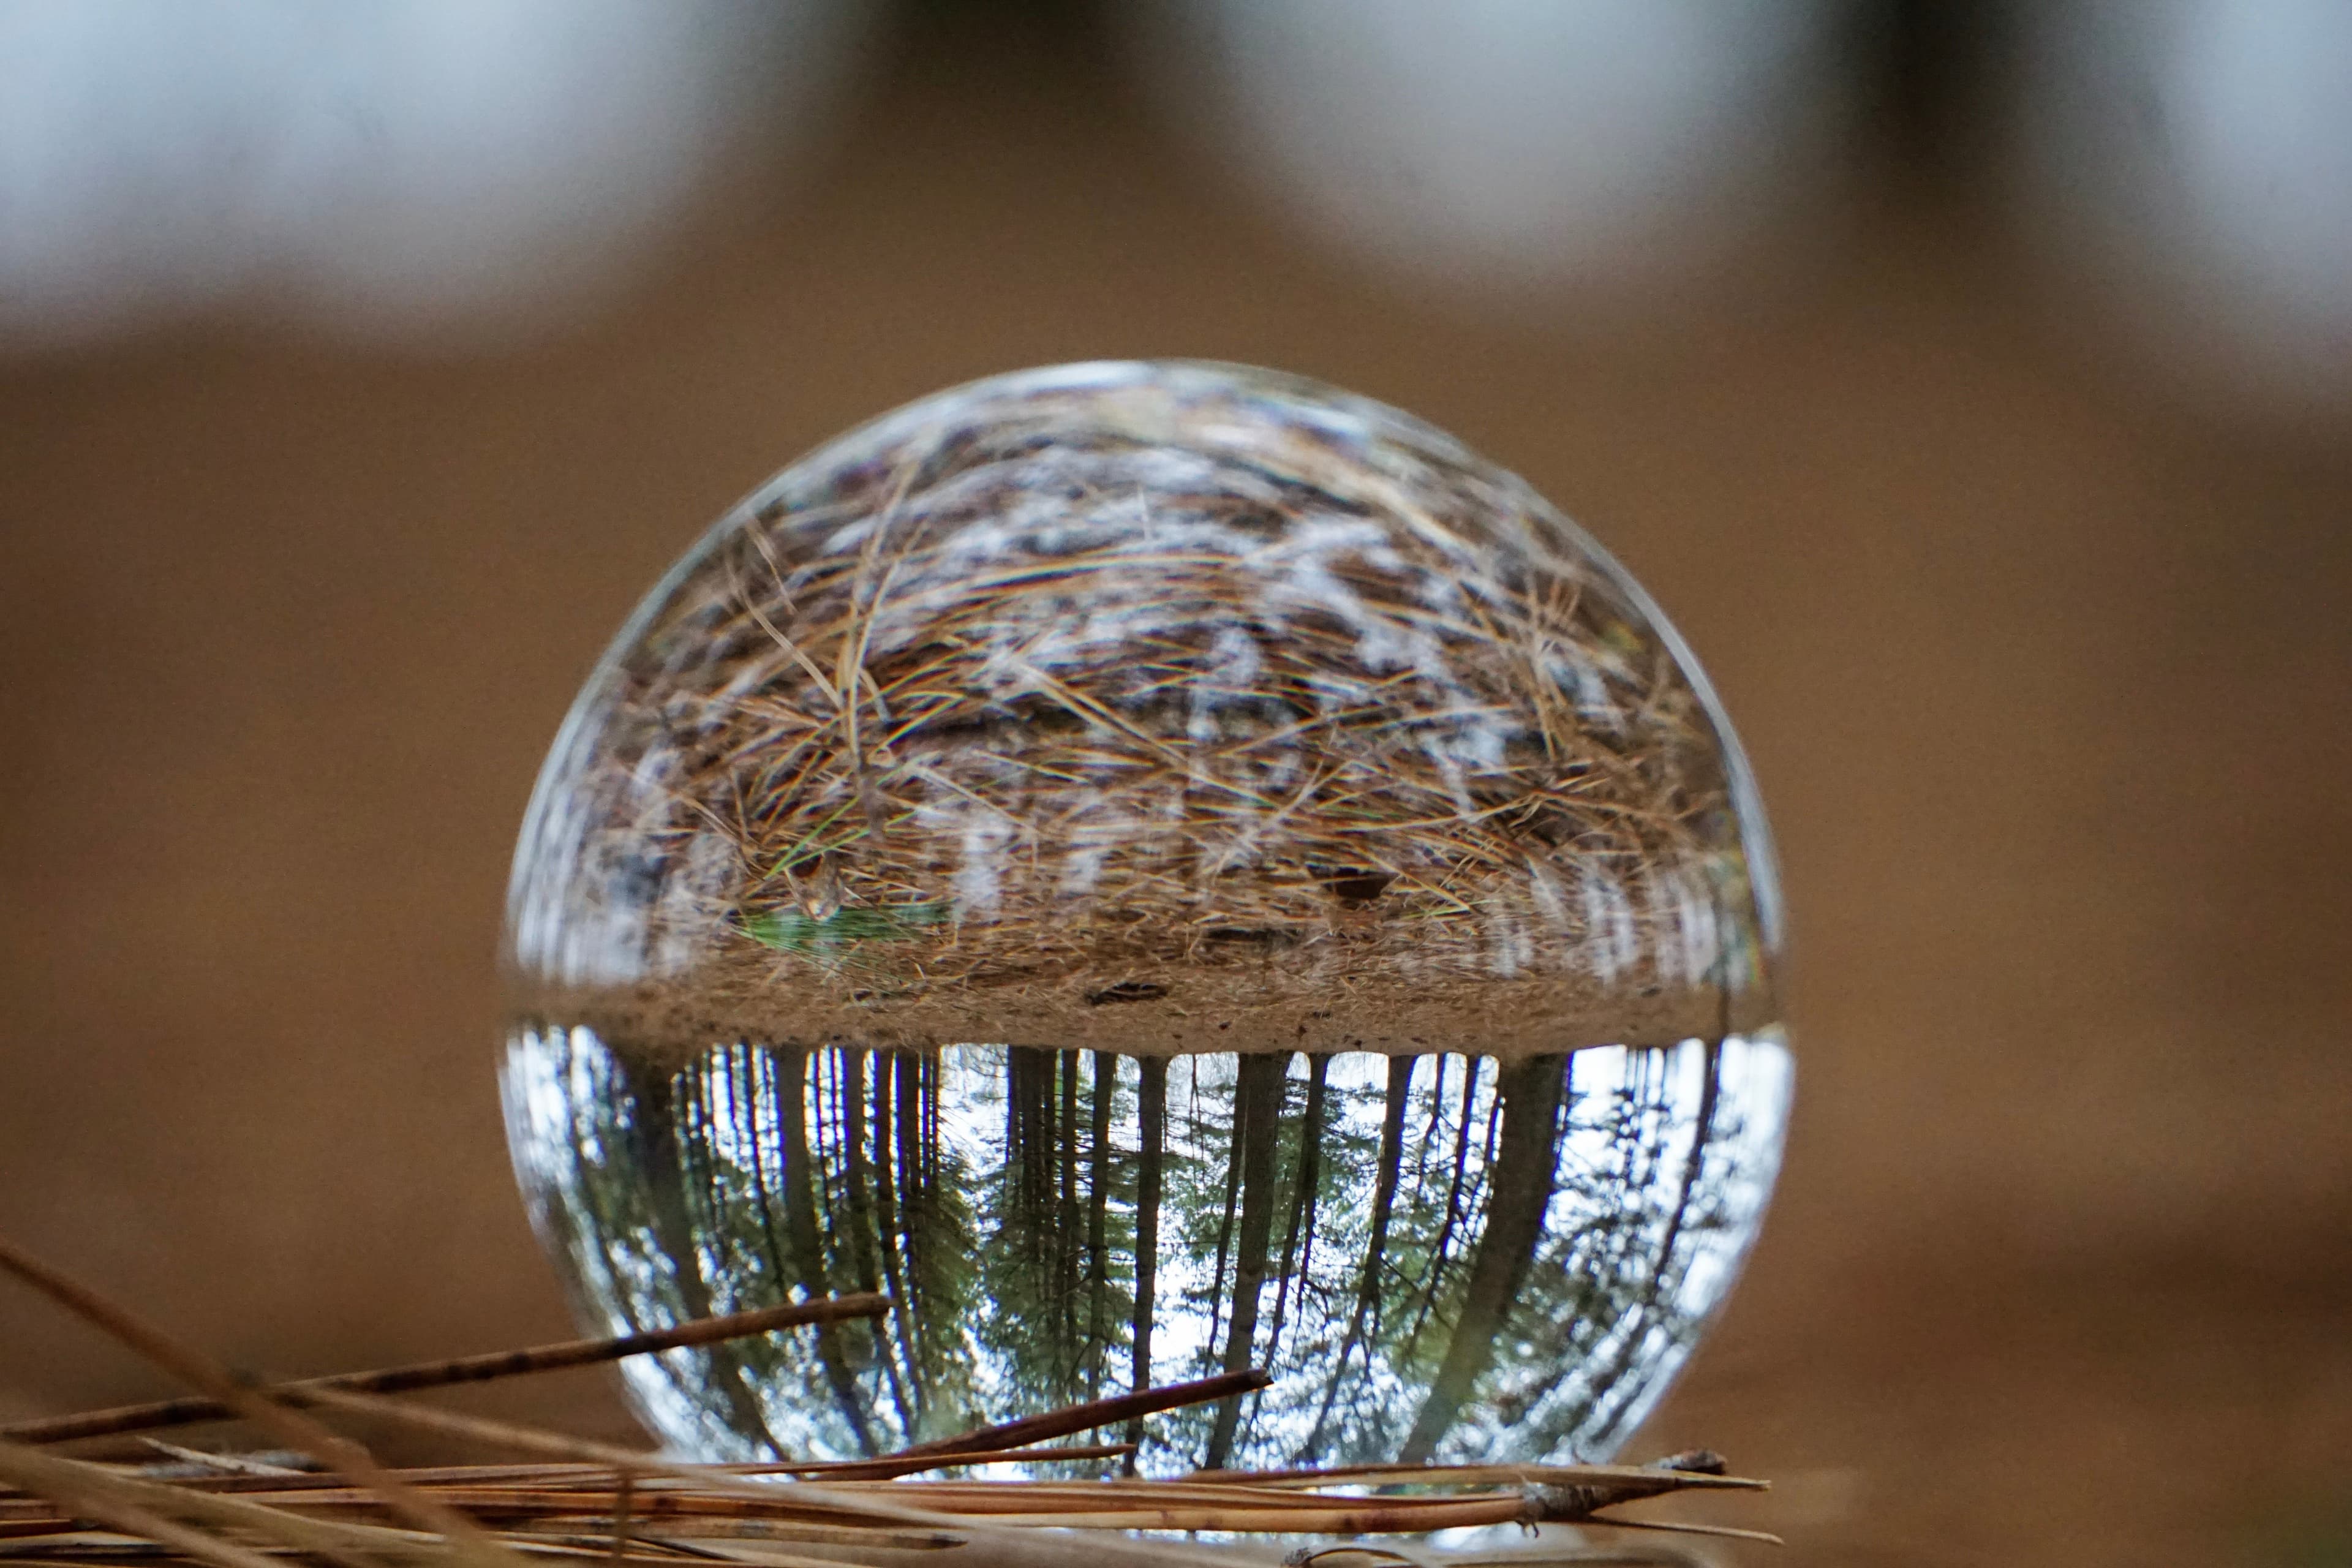
1. Including too much ground. When the ball sits too low -- directly on the ground or on a low surface -- the forest floor fills a large portion of the interior. In a forest setting, this means pine needles and dirt dominate the composition rather than the trees or sky you were trying to capture.
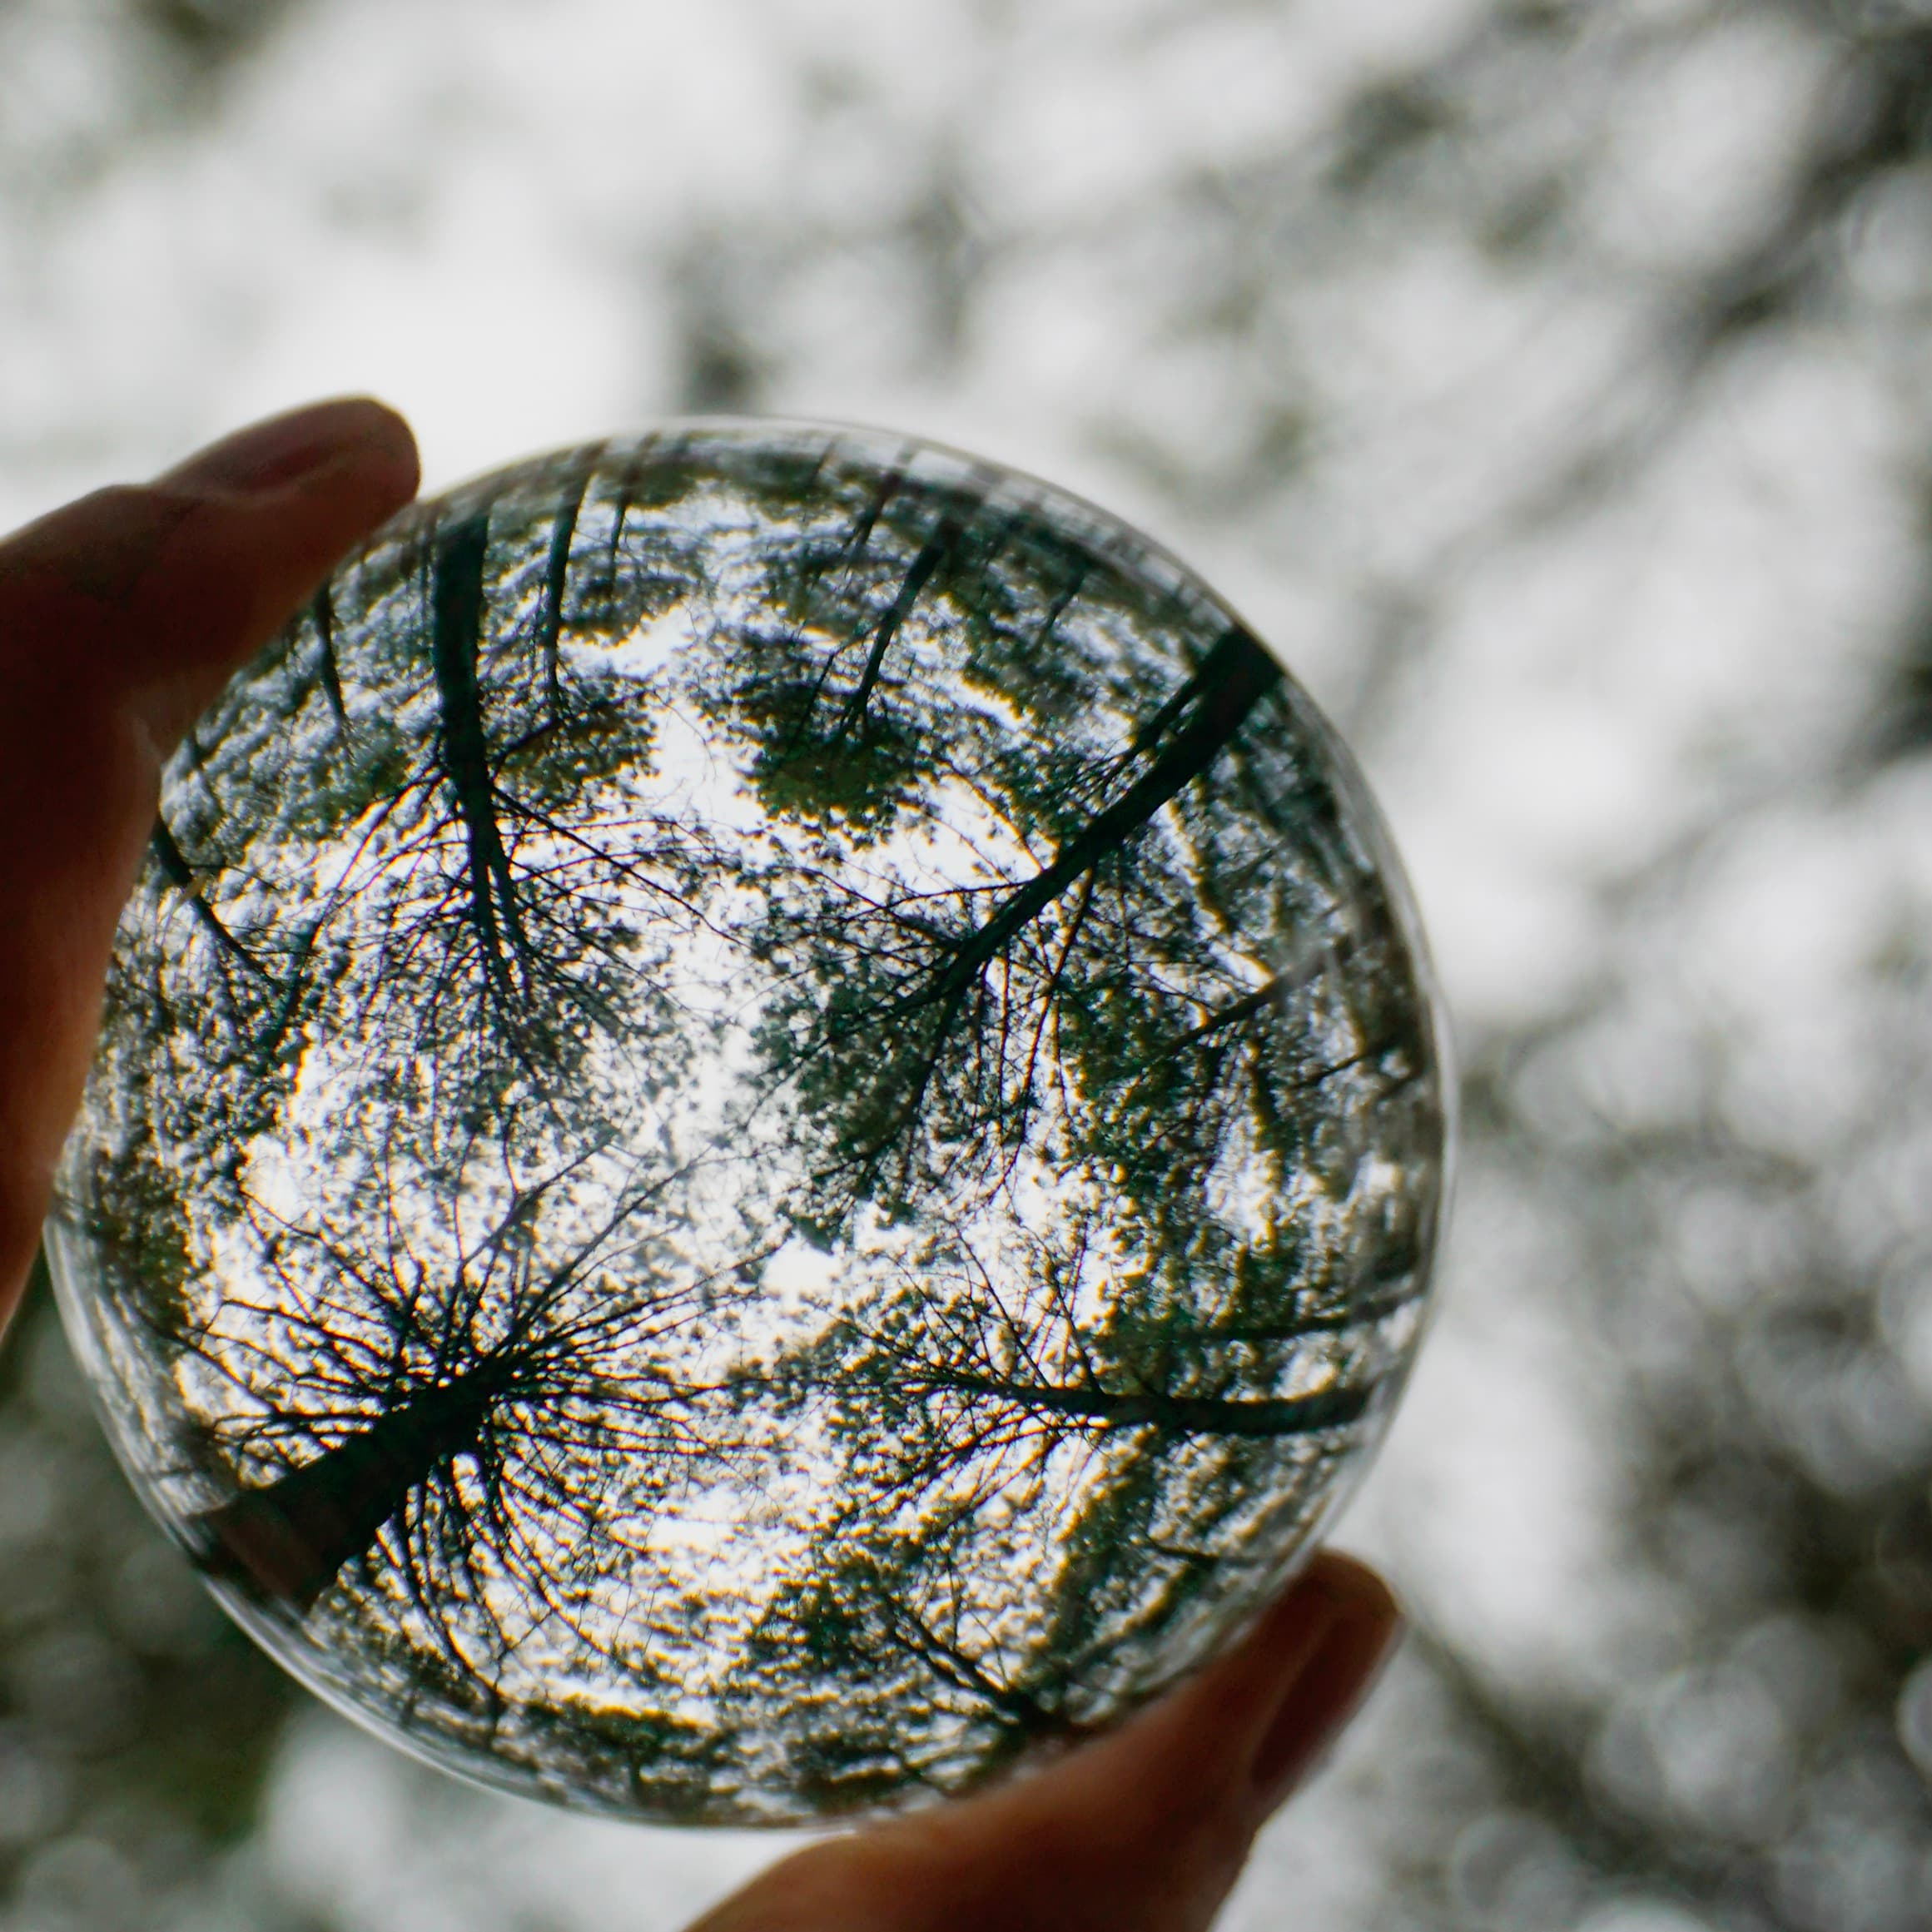
2. Capturing your fingers, hand, or stand. Because the sphere picks up light from almost every angle, whatever is holding the ball tends to appear somewhere in the frame. Holding it with two fingers from below looks natural, but getting a clean shot where the fingers don't compete with the scene inside the ball is harder than it sounds.
3. Originality. After looking at hundreds of lensball photos on Instagram, finding a composition that doesn't feel like a repeat of what everyone else has done is genuinely difficult. The sphere is the star of almost every shot -- which means the challenge quickly becomes finding backgrounds, surfaces, and lighting that make yours stand apart.
4. Focal length and aperture. Getting the scene inside the ball sharp while keeping a smooth background blur requires experimentation. A longer focal length compresses the background nicely but makes precise focus harder at close range. A wider aperture increases background separation but shrinks your focus plane to a sliver.
5. Smudges and fingerprints. Bring a microfiber cloth. Any fingerprint on the glass surface will show up clearly in the final image -- especially when shooting in bright conditions. Clean the ball before every shot.
Lensball Safety Warning
A lensball is a magnifying glass. In direct sunlight, it will concentrate light into a focused beam intense enough to burn skin, start a fire, or damage a camera sensor. Never leave a lensball sitting in direct sunlight unattended -- on a car seat, a table, or the ground. Treat it the same way you would treat a magnifying glass around paper. When shooting in bright sun, keep your shooting time brief and never point the sphere directly toward the sun.
Lensball Camera Settings — Starting Point
- Focal length: 50mm–200mm. Longer focal lengths compress the background and give the ball more presence in the frame.
- Aperture: f/5.6–f/8 to keep the ball sharp. Wider apertures can blur too much of the sphere itself.
- Focus: Manual focus on the front surface of the sphere, or use autofocus with a center point aimed at the sphere interior.
- Distance: 1–3 feet from the ball. Closer increases the ball's size relative to the background; farther shrinks it.
Tips for Beginners
- Place the ball on an elevated natural surface -- a rock, log, or fence post -- to reduce ground coverage inside the sphere.
- Clean the ball before every shot with a microfiber cloth. Fingerprints are the fastest way to ruin an otherwise clean image.
- Look for strong vertical lines in the background: trees, fences, buildings. They create satisfying patterns when compressed and inverted inside the sphere.
- Experiment with camera height. Even a few inches up or down changes the sky-to-ground ratio inside the ball dramatically.
- Shoot in soft, overcast light when possible. Harsh sunlight creates glare spots on the glass surface that are difficult to remove in editing.
Lensball Photography Examples
Here are a few examples from my own lensball experiments. Some are more successful than others, but each one helped me understand composition, focus, light, and reflection a little better.
If you want to try lensball photography yourself, a simple glass photography ball is an inexpensive way to practice composition, focus, and creative nature photography. This is the one I'm currently linking for beginners.
Disclosure: this post contains affiliate links. If you purchase through them I may earn a small commission at no extra cost to you.
Continue Exploring